


How to Setup Authentication for NSX-T with VMware Workspace One Access
- Feb 27, 2023
- 2 min read
I recently rebuilt my lab environment. This will go over the process I used to connect NSX-T 4.0.1.1 to VMware Workspace One Access (WOA, formerly VMware Identity Manager/vIDM)
Prereqs
You will need to have NSX-T 4.0.1.1 and VMware Workspace One (VMware Identity Manager) already deployed. I would also recommend you already have the proper SSL Web Certificates on these systems so you don't have to do any connections a 2nd time. (Did you see my other post about installing Certs on NSX-T?)
VMware Workspace One Access should also already be setup with Active Directory Access.
You will need an SSL Client like Putty to SSH into the NSX Manager to run a command to grab the WOA/vIDM SHA256 Thumbprint
Step 1
Login to the web interface of Workspace One Access with the admin account https://<WOAFQDN>/SAAS/auth/login/userstore

Step 2
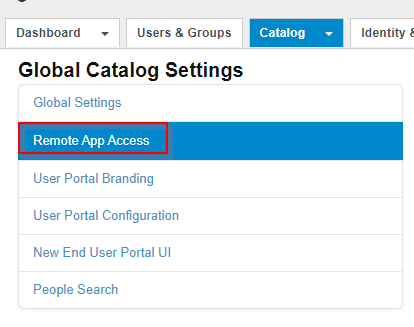
Click on Catalog > Settings > Remote Access

Step 3
Click on the Create Client green button

Step 4
Set Access Type to - Service Client Token
Client ID - NSX-T_O-AuthClient (or something that makes it easy to understand) (copy this for later use, save it securely) Expand Advanced Click Generate Shared Secret (copy this for later use, save it securely)
(Optional) Change the Access Token TTL to 9 Hours and Ilde Token TTL to 7 days

Step 5
SSH into the NSX Manager using the root account/password

Step 6
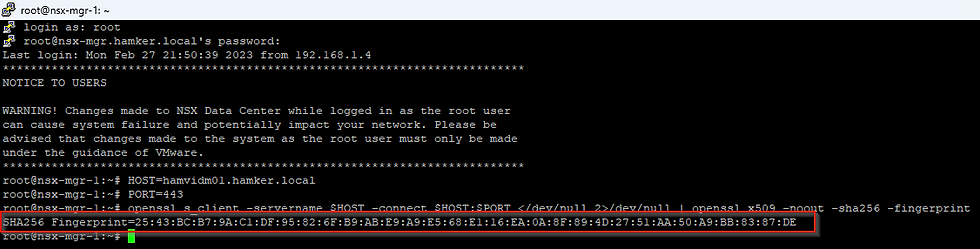
Run the below command to get the SHA256 Thumbprint from your instance of WOA/vIDM
HOST=hamvidm01.hamker.local
PORT=443
openssl s_client -servername $HOST -connect $HOST:$PORT </dev/null 2>/dev/null | openssl x509 -noout -sha256 -fingerprint
Step 7
Login to NSX-T with the admin account

Step 8
Click on System > User Management > Authentication Providers > VMware Identity Manager > Edit

Step 9
(Optional if vIDM is in front of an External Load Balancer) Enable External Load Balancer Integration
Enable VMware Identity Manager Integration
Input the WOA/vIDM FQDN
Input the OAuth Client ID
Input the OAuth Client Secret
Input the SSL Thumbprint from Step 6
Input the NSX Appliance FQDN
Click on Save

Step 10
Validate that the WOA/vIDM Connection is Up and the Integration is Enabled

Step 11
Click on user Role Assignment > Add Role For Providers > VIDM

Step 12
Type in the name of a vIDM User (3 letters required), select the name, and then select the role. Click Save


Step 13
Logging in with Local vs vIDM Creds
For Local Use the link like: https://<NSX-FQDN>/login.jsp?idp=local
For vIDM, Use the link like: https://<NSX-FQDN>/login.jsp#/


Comments