


Synology DS1621+ Setup/Review
- Feb 13, 2023
- 5 min read
I recently received some sample hardware from Synology to try out. I received the below total list of sample hardware to use. It has been quite a positive experience. I really love the toolless design options for most main parts. I love the simple setup and remote access of the NAS. I also really love the NFS/iSCSI and VMware Backup options that are built into the unit!
I received all of this sample hardware from Synology:
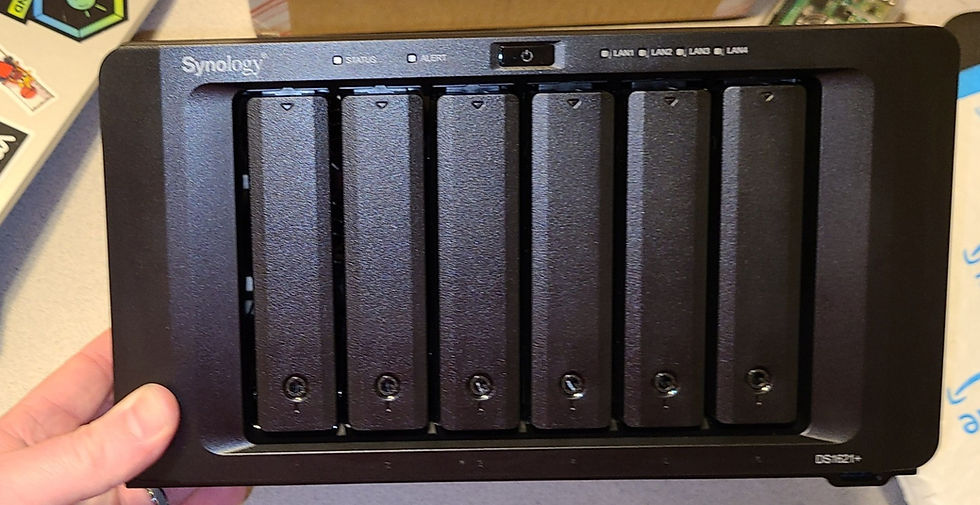
DS1621+ NAS (Network Attached Storage)
3x SATA hard drives (HAT5300-8T)
2x NVMe drives (SNV3400-400G)
12GB Total RAM (added 8GB)
Dual Port 10Gb (E10G21-F2) ethernet adapter
The Unboxing
I received all the sample gear in a few boxes. It was nicely packaged.


The installation
I quickly unboxed the unit and was happy to see that there were no special tools required to install most all of the sample hardware that Synology shipped me.
NVMe First
I quickly learned that you should always install the NVMe drives prior to installing anything else. This is only because the NVMe drive slots are on the inside of the case. You must remove all the drive trays and then install the NVMe drives. The great news is you do not need any tools to install the drives! Simply insert the PCIe interface end first and then snap in the drive on top.

RAM Add
I next installed the additional RAM. It was fairly easy to install. You do need a small Phillips head screw driver to remove the bottom plate from the unit. 4GB of RAM is included with the unit. I installed an additional 8GB of RAM into the unit to make a total of 12GB.


Additional Network Card Install
I next installed the 10Gb SFP+ network card to the unit. this did take a bit more work. You must remove the screws from the back of the case, remove the case, remove the PCIe plate, install the PCIe card, and then reinstall the case/screws.


Drive Installation
Drive installation was extremely easy. I simply unboxed the drives, removed the drive trays, snapped the drives into the trays (no tools required!!!), and then slid the drives back into their respected slots.


First Power Up
After getting all the parts installed, I quickly got the unit powered up and a 1Gb ethernet cable plugged in.
To find the device and set it up, we simply went to http://find.synology.com/ and the unit showed up right away. I was then able to go through the basic process of setting up the unit. If you have issues accessing your Synology on first startup, you can refer to this nice KB article: https://kb.synology.com/en-us/DSM/tutorial/Unable_to_Locate_NAS
Steps to Basic Setup of a Synology NAS
After finding the NAS you will find a page like below, click Connect
Read the EULA, check the I have read box, and click Next
Read the Synology Privacy Statement, and click Continue
At the Welcome screen, click Install
At the Install DiskStation Manager screen, usually you will select the option to automatically download and install the latest firmware from the Synology site, and click Next. If you are at a site that does not have internet access, download the firmware in advance and take it with you to be installed manually.
Validate that All Data will be erased by checking the box, and then click Continue
Wait for the download of firmware/setup to be completed
The Synology NAS will reboot after firmware install/basic setup and can take up to 10 minutes.


Setting up Synology DSM (DiskStation Manager)
Next DSM will take you through its initial setup.
Click on Start
Set a Device Name, Administrator Account, and Password, then click Next
Select to Automatically install important DSM Package Updates only (recommended), click Next. This will setup the NAS to update automatically when new firmware/OS updates come out.
Either Create a Synology Account or sign-in to your new 1. This will allow you to access the NAS remotely.
Type in a name for the NAS that you want to use to connect it remotely, and click Submit
Select tools you wish to use with your NAS: Around-the-clock Monitoring, and DSM Configuration Backups, and then click Submit.


Create your Storage Pool
You will need to create a storage pool to store all your data on. This means setting up some type of RAID (Redundant Array of Independent Disks).
Click on Create Now
Read about Start to create storage pools and volumes, and click Start
Review the RAID level you wish to use, and click Next. I choose to do RAID5. RAID5 means that all the disks in my RAID group must be of equal size. For beginners, it may be better to do SHR, which allows you to use different size disks with a RAID5 type setup, but does have more overhead. (Optional) Type in your Storage pool description, and click Next
Select the disks you wish to use in your RAID group/Volume, and click Next
Select the allocated size to use for the volume. I choose to select Max, and click Next
Select Btrfs (recommended) or ext4, and click Next. I choose to use Btrfs since it allows snapshots and replication, and other advanced features.
Confirm your settings, and click Apply
Validate that all data will be erased, and click OK (this is data destructive). Once completed you will see the Storage Pool health on the Storage Pool screen.


Warranty Plus
Synology has an optional Warranty Plus option that will popup post Storage Pool creation. This allows for 2 extra years of warranty, Expedited Services, and optional Advanced Replacement. This is a great option if you don't want to be down for a long period of time due to a hardware issue.
More info on Warranty Plus: https://www.synology.com/en-us/dsm/solution/extended-warranty-plus

Setup SSD Caching
You can optionally setup SSD Caching. This will greatly enhance performance. You have options to do Read or Read-Write caching. As I received 2 NVMe drives, I setup SSD Caching to assist with read-writes.
At the Storage Pool Screen, Click on Create, and click on Create SSD Cache
Read about SSD Caching, Select the Volume you wish to setup caching on, and click Next
Select Read-Write or Read-Only Caching, and click Next. I selected Read-Write Caching so that iSCSI and NFS would be much faster.
Select that you understand about Data loss, and click Continue
Select the RAID type for caching (RAID1 is the only option), and click Next
Select the NVMe drives you wish to use, and click Next
Validate that this will erase the SSDs, and click Continue
Wait for the Cache Setup to be completed. Once completed you will see the cache health on the Storage Pool screen.


Review of Installation/Setup
The unit was extremely easy to setup. Installing the 10Gb ethernet card did take a bit of work since you had to remove the case, but otherwise was very easy to work with. I do love all the expansion options with this unit and the speed of the processor. The unit is very snappy. It was quite easy to install firmware and get the basic unit set up. I do really love the remote access capabilities this offers to me and my family. This unit also allows me to backup my VMware Home Lab environment, which helps me stay protected in case of a VM or file issue.
More to come on NFS/iSCSI and Backup with my next post.
Comments